How to Make a Cake from Scratch: The Ultimate Easy Guide
This complete guide to “How to Make a Cake From Scratch” will teach you the basics of cake making, including the ingredients and tools needed to make the cake. You’ll also learn how to troubleshoot and follow step-by-step directions. Let’s get started!
Why make a cake from scratch?
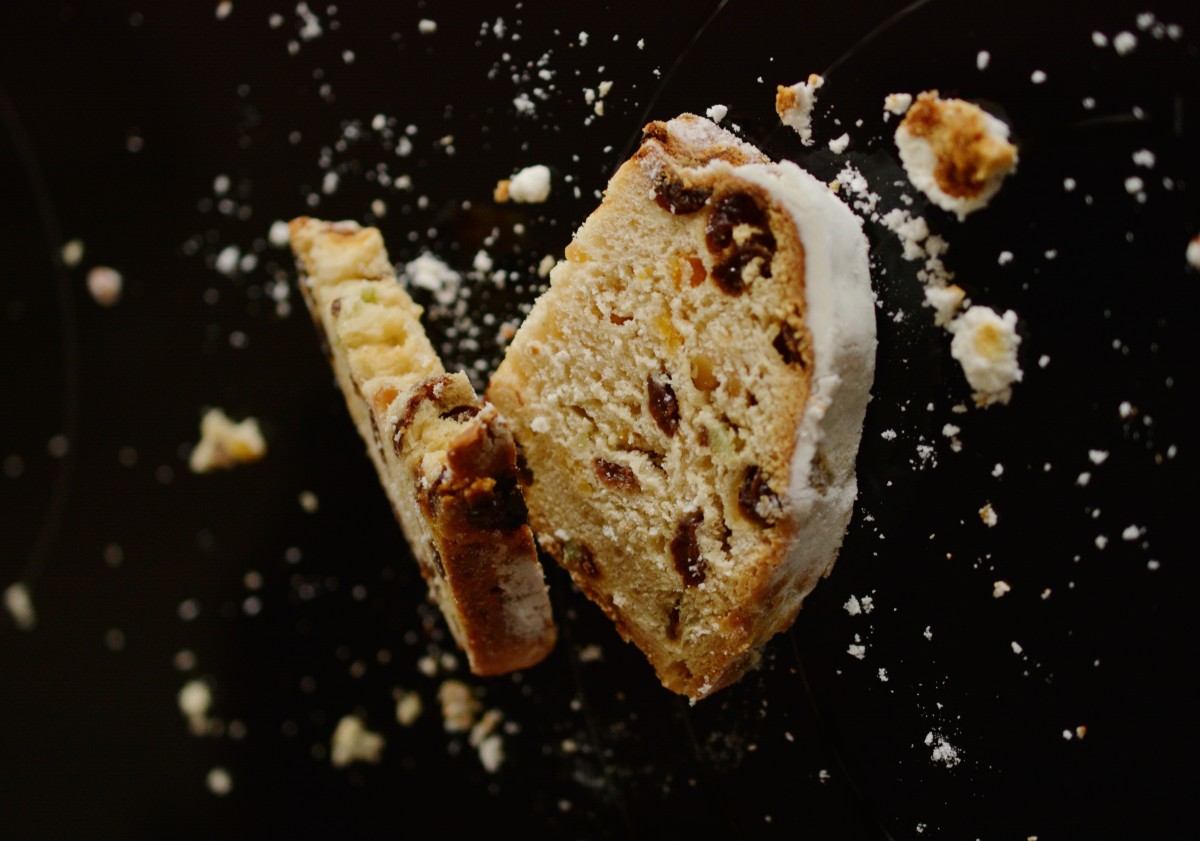
You will enjoy the benefits of making your chocolate cake: greater flavour, more control over the ingredients and satisfaction in creating something. This Moist Chocolate cake is the best. NOTHING.
You’ll find only delicious, easy recipes and exclusive tips backed by science to help you cook better. It’s free!
- MUCH BETTER THAN STORE-BOUGHT OR CAKE MIX When you bake a cake yourself, the flavours will be fresher and taste better. No artificial flavour enhancers or preservatives are used. The result is noticeably superior.
- Control over Ingredients: When you make your cake, you can be sure of the ingredients. It’s especially helpful if you have dietary restrictions or allergies. You can also adjust the sweetness, flavours and textures according to your preferences.
- Building Skills: Making a cake is an excellent way to improve your cooking skills. You will gain hands-on cooking experience by mixing, measuring and baking. It’s so satisfying.
The Essential Ingredients of Homemade Cake
- Flour is the foundation of your cake. It provides structure. Cake flour will give you a more tender crumb.
- Granulated sugar is the most common type of sugar you will use. Sugar is not only used to sweeten the cake but also for flavour and browning. Did you know that the heat from the Oven turns sugar into liquid? This also adds moisture. In one of my food science classes at university, we were taught to think of sugar as liquid and not as a dry ingredient.
- Eggs Contribute to the structure and moisture of the cake. Also, they help to leave the cake and add flavour. See the best egg alternatives here.
- Fat is what gives richness and flavour. It’s usually butter. Some recipes include oil, cream cheese, or other fats.
- Buttermilk or Milk: Some recipes call for additional dairy ingredients, while others get moisture from fats and eggs. See the best buttermilk alternatives here.
- Leavening agents: These include baking powder, baking soda and sometimes yeast or whipped whites. They give your cake a light, fluffy texture by making it rise.
- Flavorings Vanilla is the most common flavouring, but you can also experiment with other flavours, such as spices or citrus zests.
The Temperature of the Ingredients is Important. These ingredients must be at room temperature. Butter that is too cold will not cream well, and eggs that are too cold can cause butter to solidify. Ingredients that are at room temperature combine better and produce a more cohesive, smoother batter. How to quickly bring ingredients up to room temperature.
Checklist for Tools and Equipment
- Mixing Bowls You will need at least two mixing bowls: one to mix dry ingredients and another for liquids.
- Measuring cups & spoons: Accurate measurement is crucial when baking.
- Stand mixer: Although you can mix it by hand, an electric mixer is SO much more convenient.
- Cake Pans: Depending on what type of cake you are making, the size and shape will vary.
- Rubber Spatula: This tool helps you scrape all the batter into your pan.
- A cooling rack is important for cooling your cake down before frosting.
5 Easy Steps to Making a Cake from Scratch
Anyone can make a cake. As a food science researcher and professional recipe developer, it’s my passion to simplify baking science so that anyone can achieve baking success.
Step One: Prepare your Oven and Pans
Preheating Oven Before mixing ingredients, you should preheat the Oven to the temperature specified by the recipe. It is important to start with a hotter oven because it will ensure that the cake cooks evenly and rises properly. The oven usually takes 10-15 minutes to heat up, so starting this process first will give you more time to prepare other things.
Cleaning and Greasing Cake Pans: You don’t want your cake to stick. Grease your pan with coconut oil or cooking spray to avoid this. Add a little “dusting agent” after greasing the pan.
Flour is the traditional dusting agent (hence, “grease your pans and flour them”).
My personal preference is to flour the pans I use for other cakes with almond meal and dust them with cocoa flour. This will prevent the cake from having a white gummy residue that regular flour can cause.
To evenly distribute the flour, tap and tilt the pan, regardless of whether you are using flour. Shake off any excess flour. This extra layer creates a barrier that makes it easier to remove your cake from the pan after baking.
Step 2: Mixing Ingredients
The “Cake Method” is the easiest, as it involves first creaming the butter and sugar. The “Muffin Method” is the easiest, as it doesn’t involve creaming. Just mix dry ingredients and wet them separately before combining them. My favourite discovery is the third, which is less known. This method is called ” reverse creaming“, and it produces the best vanilla cupcakes ever.
Cake Technique
In many cake recipes, butter and sugar are usually creamed together until light and fluffy. The air is incorporated into the mixture, which makes the cake rise. After the creaming, you add the eggs one by one. Make sure that each Egg is completely incorporated before adding another.
You would then add the liquid (such as milk or buttermilk) to complete the mixture of wet ingredients. This method is used in many recipes, including butter cakes, layer cakes, and pound cakes.
SECRETS OF SUCCESS
- Ingredients at Room Temperature: Butter and eggs should be at room temperature to ensure a better mix and consistency in the batter.
- Paddle attachment: Use your stand mixer’s paddle attachment for creaming. This attachment is designed to aerate your mixture more effectively than regular beaters.
- Scrape the Sides Periodically scraping the sides of your bowl will ensure that everything is mixed evenly. Do not overlook this step.
- Add One Egg at a Time Adding just one Egg at a moment will help keep the mixture from breaking or curdling.
- Do not overmix: Mix your dry ingredients until they are just combined. Overmixing will cause your cake to become tough.
Muffin Method
The Muffin Method can be used to make muffins, quickbreads, and simple cakes. This method involves mixing all the wet ingredients in one batch, without creaming butter and sugar.
You may melt the butter to make it easier to mix with liquids and eggs. Cakes made this way are typically denser and have a more uniform crumb.
The simplest method is this one. If you are a beginner, start here! This technique will allow you to make Moist Chocolate Cake or Moist Carrot cake that is 100% failproof.
SECRETS OF SUCCESS
- Mix Wet and Dry: Mixing the wet and dry ingredients separately ensures that they are evenly distributed when combined.
- Gent Mixing: Motorized tools will not be your friend in this case. Mix ingredients by hand using a large spatula until they are just combined. This will prevent the activation of too much gluten, which can make your cake hard.
- Do not overfill. This method can result in a batter which rises excessively. Fill your cake pan only 2/3 full in order to prevent overflow.
- Hot Oven: A hot oven helps the batter set up quickly and captures moisture, making the cake moist.
Reverse creaming method
The reverse creaming method flips the traditional cake recipe on its head. In place of creaming butter and sugar, mix your dry ingredients with sugar. Then, add room-temperature butter chunks to the dry mixture and blend until it looks like coarse sand. Then, add the wet ingredients, which usually include milk, buttermilk, and eggs.
This method produces cakes with a more tender crumb and is slightly denser than cakes made using the creaming method. It is used when a fine crumb, like that of this moist vanilla cake or certain types of pound cake, is desired.
The method you choose will ultimately depend on what type of cake and texture you want to achieve. The Cake Method gives you a lighter texture and fluffier cake, whereas the Muffin Method produces a denser, quicker cake. Reverse creaming can be an excellent alternative, depending on what texture and structure your cake requires.
SECRETS OF SUCCESS
- Consistency of Dry Ingredients: Combine and sift your dry ingredients before adding butter to avoid lumps.
- Cold butter: When mixed with dry ingredients, butter at room temperature or slightly cooler will create a sandy texture.
- Low speed: Mix the flour on low speed before adding the butter.
- Add liquids slowly: Start with a small quantity to make a paste, and then add the rest of the ingredients to form the batter.
- Check Texture: After combining, your batter will appear curdled. This is normal and okay! Do not overmix to get it smooth.
Step 3: Baking a Cake
Pour your batter into the cake pans you have prepared. Make sure to scrape the sides of your bowl with a spatula. When making a cake with layers, distribute the batter between the pans as evenly as you can. This will ensure that the layers all bake at the same rate.
For a cake to be successful, even baking is important. You can do this by rotating the cake pans halfway through the baking process, or if there is more than one pan in the oven, you can switch the positions. This will compensate for any hotspots in your Oven.
The baking time may vary depending on the Oven and the recipe. Consult your recipe to get the most accurate time.
Step 4: Testing for Doneness
It is important to know when your cake has finished baking. The toothpick test is a common way to test the doneness of a cake. Insert a toothpick in the middle. Your cake is ready if it comes out with only a few crumbs or clean. The touch test is another method. If the centre of the cake springs back when lightly pressed, the cake is ready.
If you want the foolproof method, then a probe thermometer is your best choice.
When inserted in the middle, a perfectly baked cake should register 190 F. This takes all the guesswork out. It ensures your cake has been fully baked without losing more moisture than is necessary. As the temperature increases, the liquid will turn into steam. This steam is the moisture that will never return to your cake.
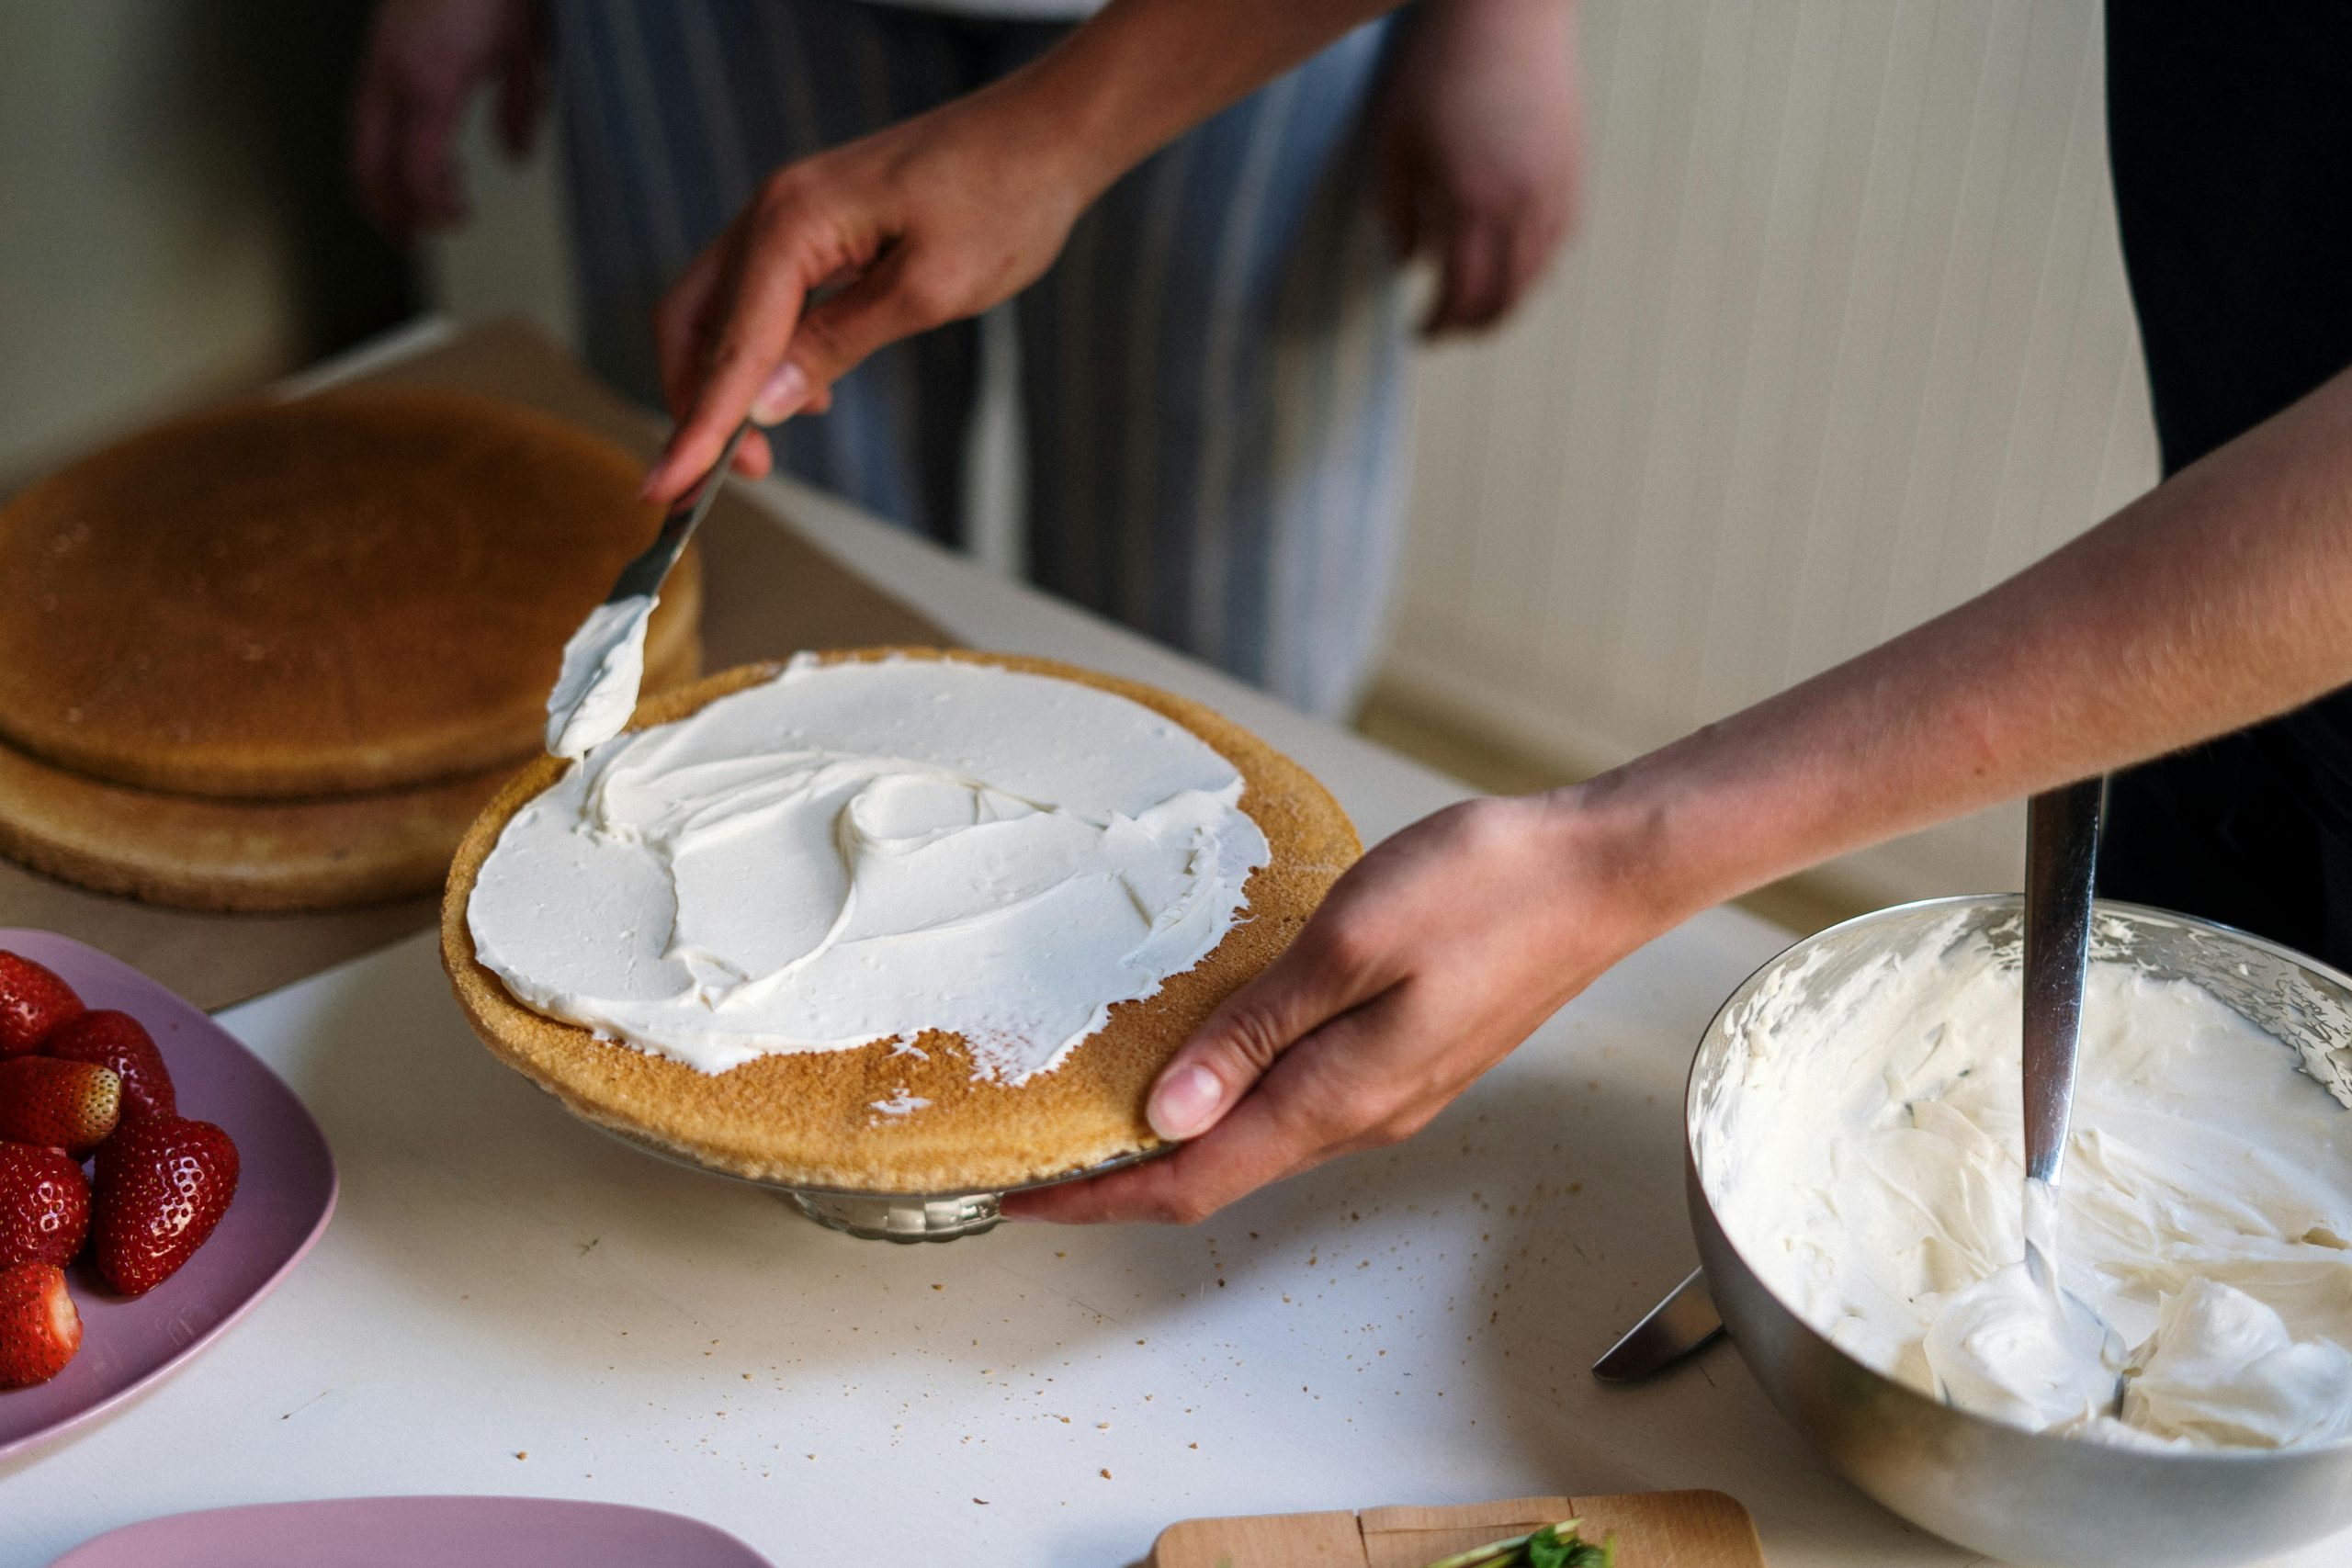
Step 5: Cooling down and Frosting
Please do not rush to remove your cake from the pan after it has finished baking. Allow it to sit for 10 minutes. The cake will firm up and become easier to remove.
The steam generated by the hot cake will also help the cake release from the bottom.
Then, use a knife to run around the edge of your pan in order to loosen it. Use oven mitts and a parchment sheet to flip over the cake. Read more about parchment paper in Parchment 101: All You Need To Know.
This is the gentlest way to remove it from the Oven and onto a cooling rack. The parchment paper will prevent the cake from sticking or getting ugly grooves on the wire rack.
If you don’t, your frosting may melt and cause a mess. You have a variety of frosting options. The classic homemade vanilla frosting is always a good choice. But my favourite is the fluffy chocolate frosting.
Final Words
Here are five easy steps for making a delicious cake from scratch. Do not be afraid to try different flavours, fillings and shapes. No matter if you are a novice or an expert baker, everyone can enjoy the pleasure of making their cake.