How to Decorate a Cake (For Beginners)
Are you new to cake decorating? These six easy tips will help you decorate a cake like a professional (great for beginners). Your cakes will be more beautiful than ever before! Included is a video showing how to use the product.
The cake is topped with white icing swirls and sprinkles. This Recipe Can Be Saved!
A Beginner’s Guide to Cake Decorating
Today, I will not share a new recipe! Instead, I will share a guide that explains how to decorate a whole cake from beginning to end. It’s something I wish I knew as a novice baker who struggled with cake decoration!
You’ve probably experienced the stress of decorating a cake. Whether it is for a wedding, a birthday, or a casual gathering, you know how difficult it can be. A sheet cake can be decorated easily, but a layer is a different story. You can spend a lot of time decorating your cake.
Beginner bakers often have problems with decorating. Uneven frosting, wonky layered, and lacklustre decoration are all common issues. But not any more!
The tips we have today cover everything, from the number of layers you should use to how much frosting is needed. My tips can help you improve your baking skills, even if you are not a novice cake baker. Check out the video below to see how I decorate a cake from beginning to end.
Recommended Equipment
Filling piping tips and bags with coloured frosting
These are some of my favourite kitchen essentials. You can substitute most of them with other utensils. However, if you have the real thing, it can be very helpful!
Cake plate. A beautiful cake platter can be a good starting point to create a lovely cake. I love the purple cake platter pictured below and have it in many colours.
Cake leveller. If you are a good hand-eye coordination person, you can use a serrated blade. ).
Piping bag. In a pinch, a large Ziploc bag can also be used. You’ll need to cut the corner to make room for your piping tip.
Piping Tips. These tips are cheap and can make a huge difference in the decoration of the cake. Wilton’s 2D tip is available in many starter kits for piping. It will work well, but I prefer the Ateco tip 846 or 848. It’s what I use to make most of the cakes and cupcakes that you can see on my blog!
My Amazon shop has links to all these tools and more.
Bonus tip: A bench scraper or offset spatula can help achieve smooth sides. However, neither is necessary.
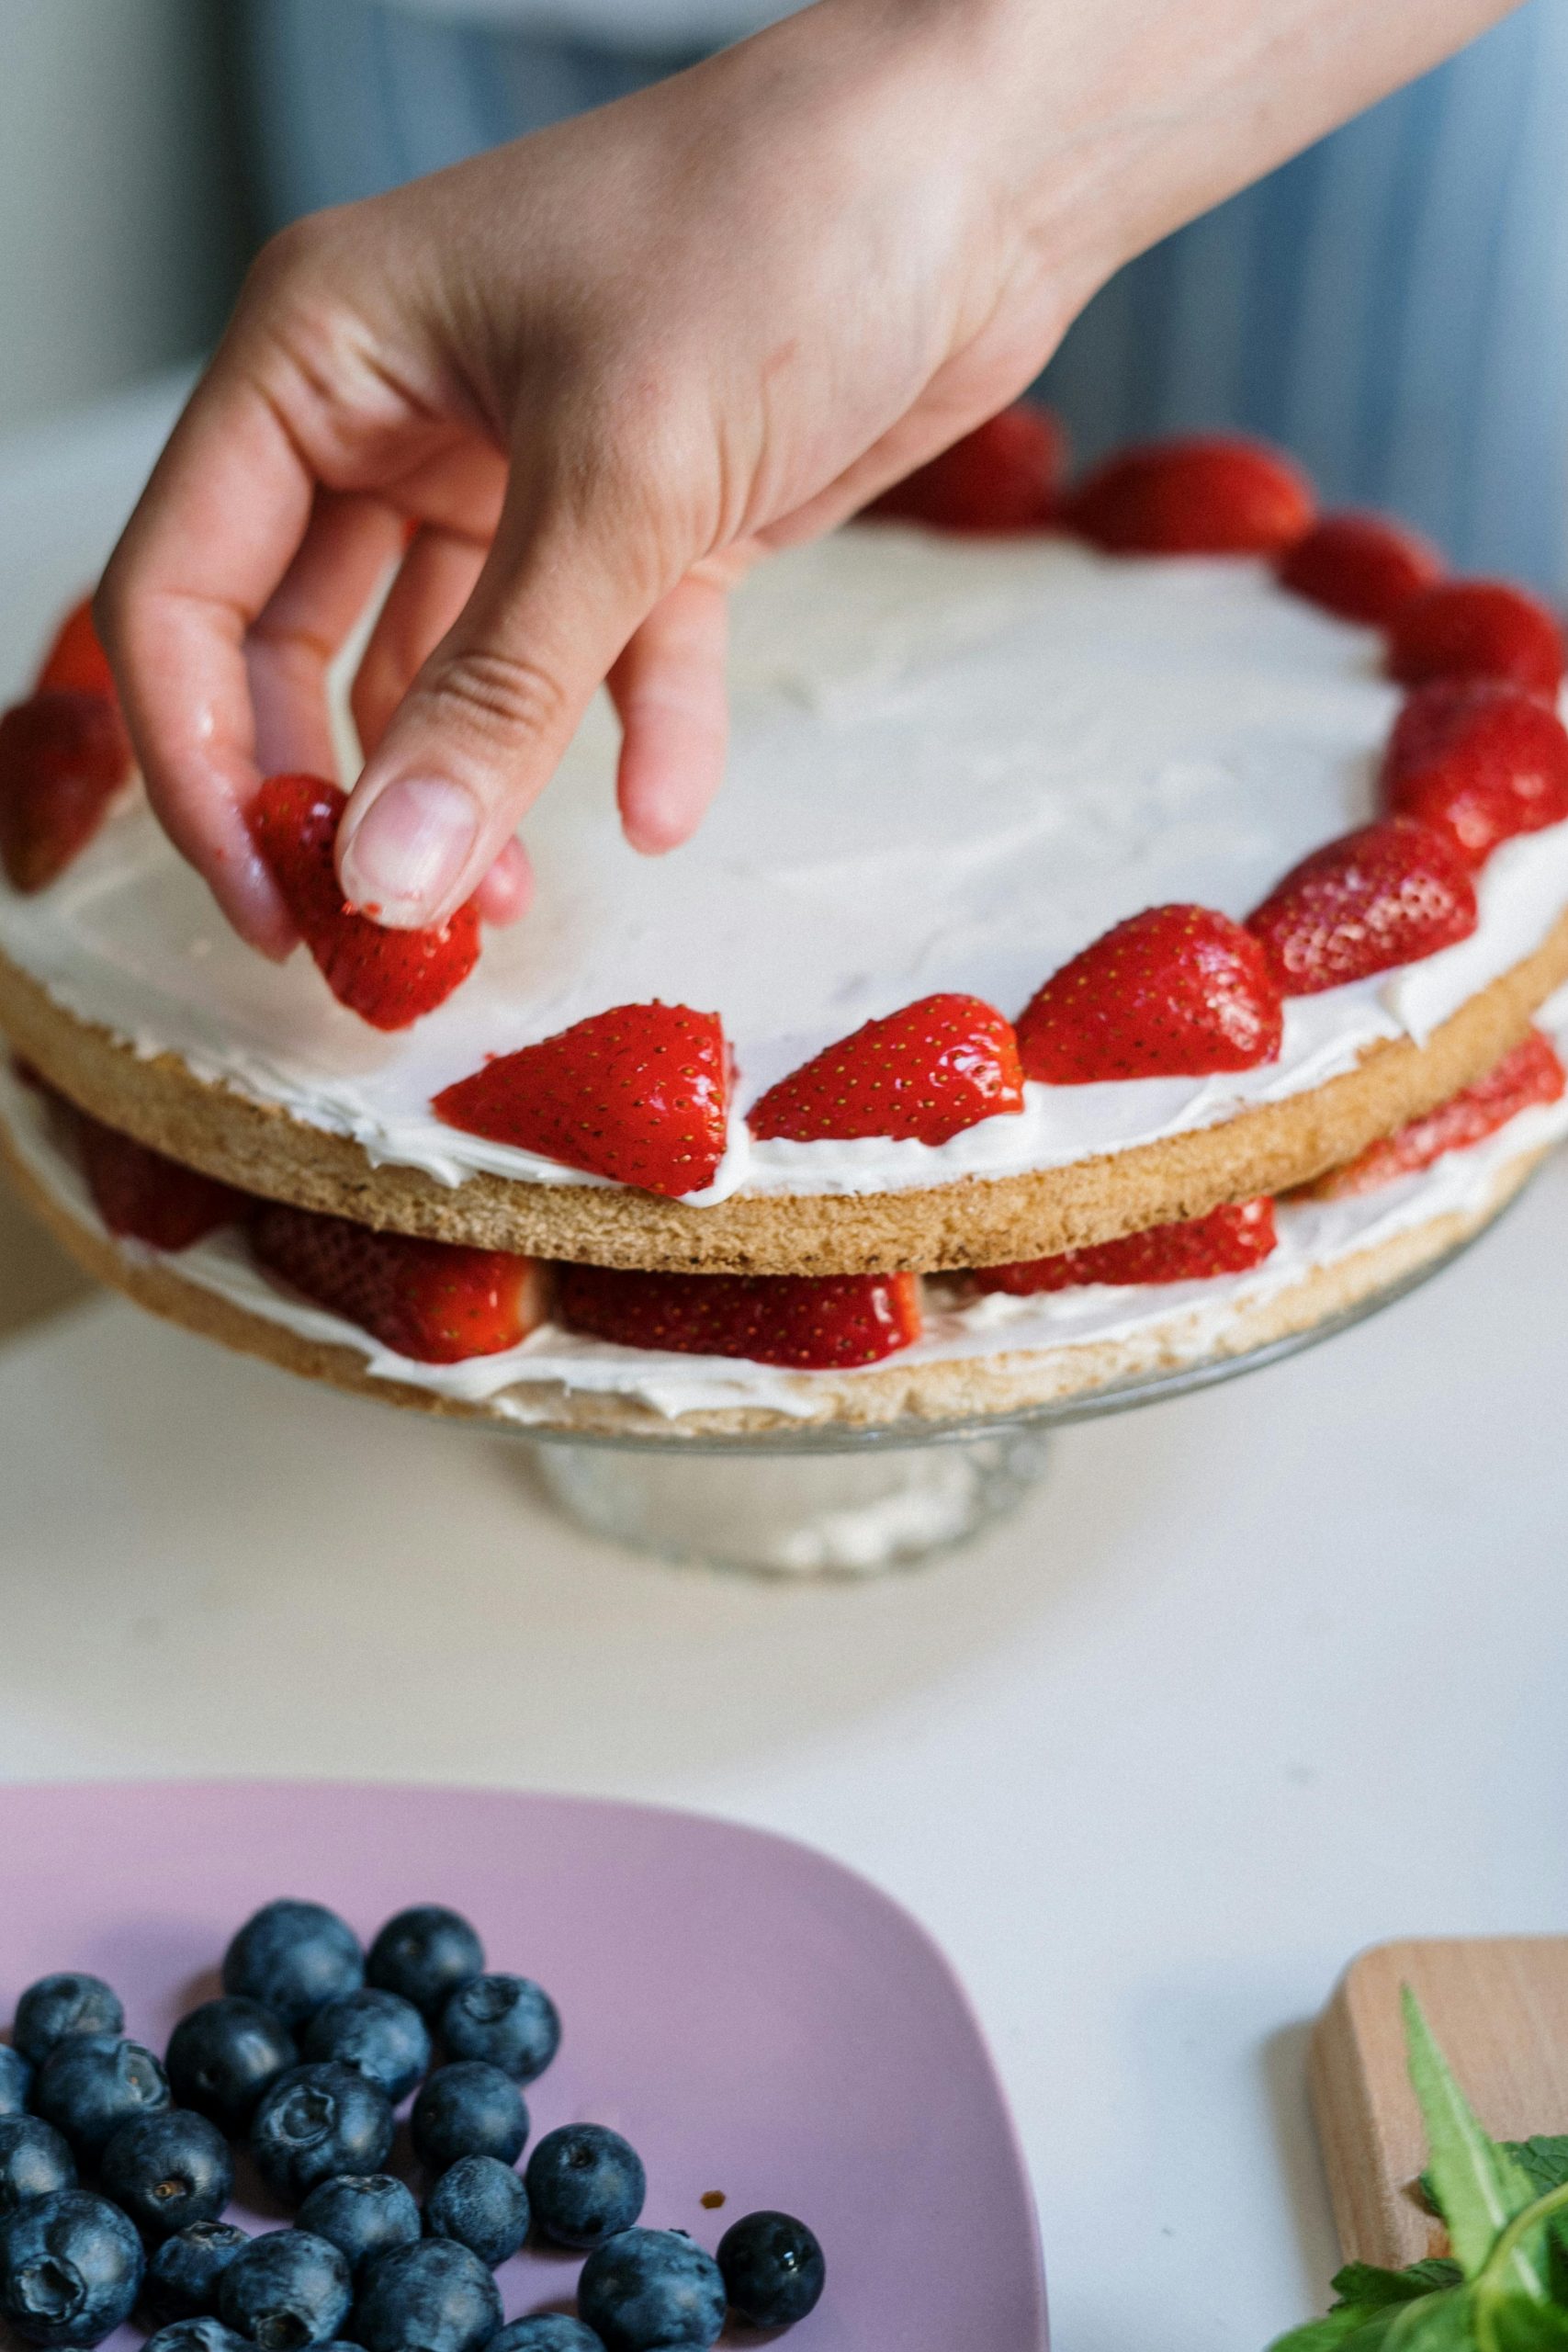
Tip 1: Three layers look better than two
Three layers of yellow cake with chocolate frosting between.
Choose a recipe with three layers (like my Oreo or peanut butter cake) to make taller cakes. If you love a 2-layer cake recipe (like my white cake), you can increase it by 50%.
You can wait to add the third layer if you only have two pans or if your oven is only big enough for two.
Even if you don’t follow this tip, the rest of the tips will improve the appearance of your two-layer cake!
Tip 2: Level Your Cakes
A cake leveller is used to level yellow cake.
Some cakes tend to be nice and flat (like the gingerbread layer cake), whereas others have a rounded top (like the yellow cake). Levelling your cake will give you the best result and make decorating easier.
You can level your cakes with a serrated knife if you have good vision and a steady hand. If you do not (and neither do I!), then use a leveller. I use a cake leveller that is inexpensive and made by Wilton. I love it. This tool is under $10 on Amazon, and it has helped me to make many cakes perfectly level! In my video, I show you how to use the tool.
Bonus tip: Allow your cake to cool completely before frosting or levelling. The warm cake will not only fall apart but will also melt the icing. Let it cool down completely.
Tip 3: Choose Frosting Wisely
White bowl with chocolate frosting.
Most bakers who are learning to decorate a birthday cake for the first time don’t understand how important icing is.
For the best cake decoration, use thick, sturdy icing that you can manipulate easily. It should be spreadable (to avoid dragging large crumbs into the cake) but not too thin or warm so that it falls from the cake.
Buttercream, cream cheese frosting and Swiss meringue are great options for beginners. These are smooth, sturdy, not too thin or thick, and pipe easily.
Tip 4: Make extra frosting
A white spatula is used to stir a bowl of pale yellow smooth frosting.
Beginner bakers should make 50% more icing compared to the recipe. Why? You will make mistakes, so you don’t want to be rushed to make extras! Having extra gives you much-appreciated flexibility. You will also need more if you plan to add decorative piping. ).
I usually need 5 cups of frosting for a two-layer cake and 6-7 cups of frosting for three-layer cakes.
You can certainly decorate a cake using a standard batch (typically four cups) of icing. I do this all the time and have never had any issues. When I was first learning, it was much easier to make extra icing in case of any mistakes.
BONUS TIPS: Do you still have extra icing left after decorating your cake? If you don’t plan to use it immediately (cupcakes always make a great idea! ), you can freeze it. Put your leftover icing into an airtight container and freeze it for a couple of weeks. Place the container in the refrigerator overnight to defrost it before using. It may be necessary to reship the product to bring it back to its original texture.
Tip 5: Do a Crumb Coat
Chocolate cake with a crumb coating
The crumb coat is a very thin layer of frosting on top of the cake. Bakers do this to keep cake crumbs in place for a smooth, crumb-free frosting.
Remember that your crumb coating doesn’t need to be perfect to be effective, so don’t waste too much time. Keep the frosting thin and evenly coat the cake. The second layer will hide any imperfections.
After crumb-coating your cake, please place it in the refrigerator or freezer for 15 minutes. This will help the frosting firm up. You’ll thank yourself for the crumb coat when you’re ready to add your final frosting layer!